Enrolment Dashboard > Financials tile > Agent
The Enrolment Dashboard features a Financial tile that provides functionality related to linking new agents. By accessing the Financial tile, you can link an agent from the Students tab to the enrolment. Once the agent is successfully linked, you can proceed to edit the agent’s details from the Agent tab.
The link agent icon within the Financial tile enables you to search for a specific agent and update their information within the enrolment. This allows for the synchronisation of the agent’s data with the enrolment.
Important - If you want to change/edit the agent then make sure there are no payments that have been made for the agent in this enrolment, If the payments have been made then you have to go to the Agent financial screen and delete the payment via selecting the delete button.

Follow the steps to link the Agent
Go to the Enrolment Dashboard > Financial Tile > Student Tab
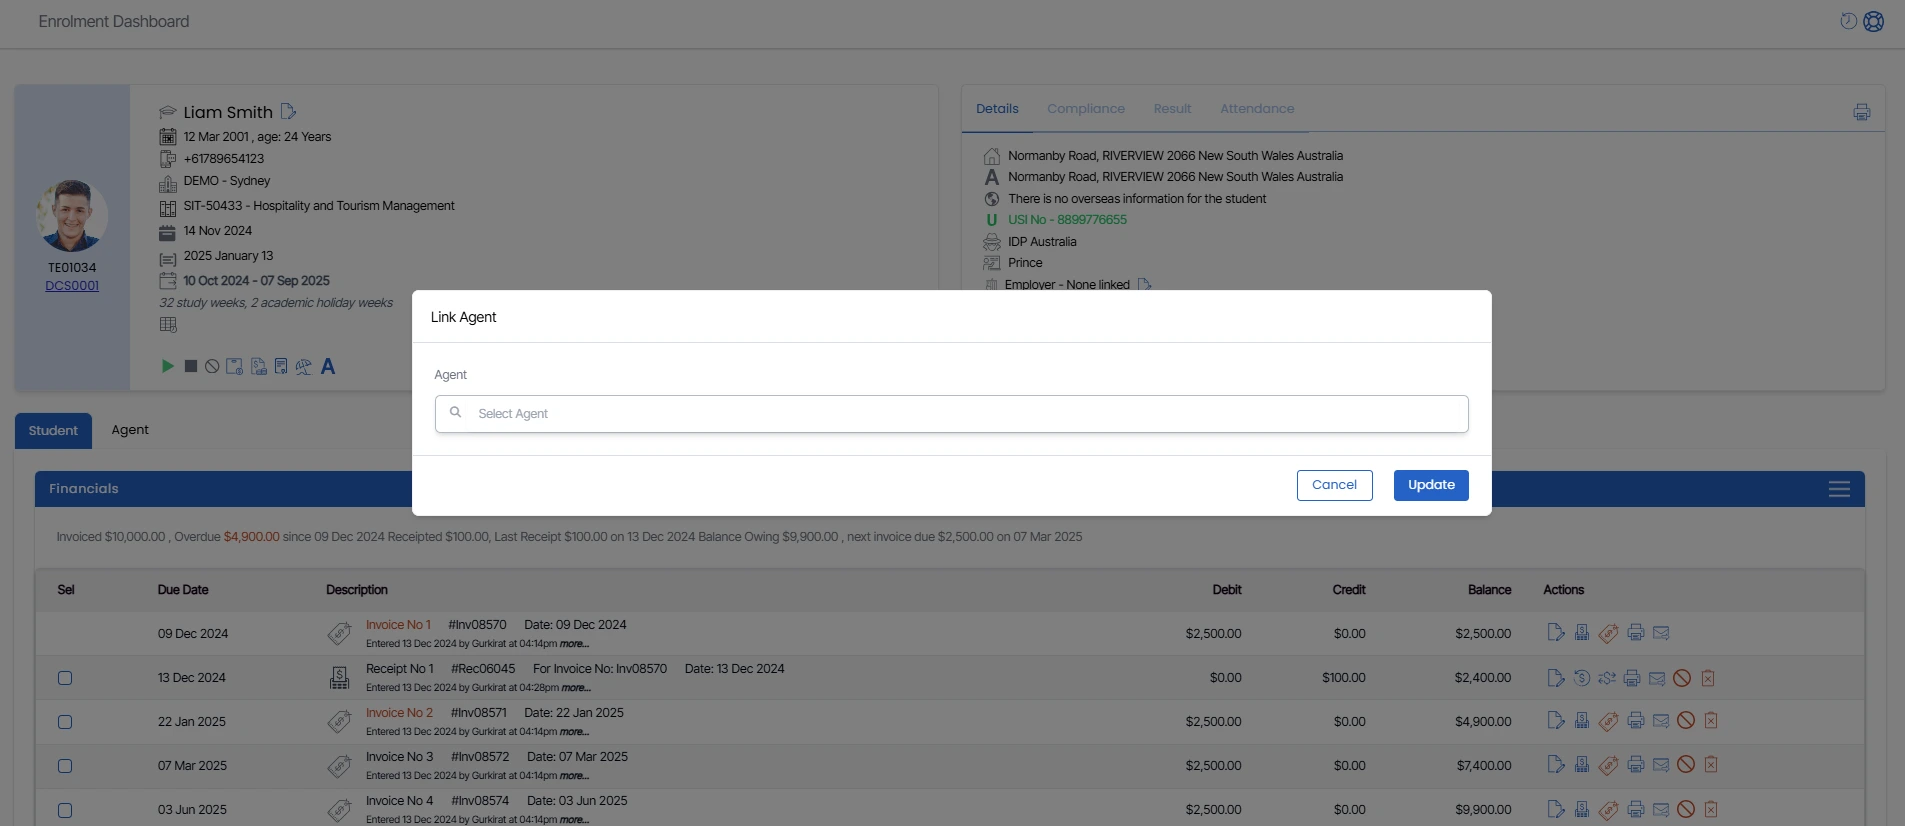
- Then, from the student tab burger menu, click on New Agent, and a floating window appears.
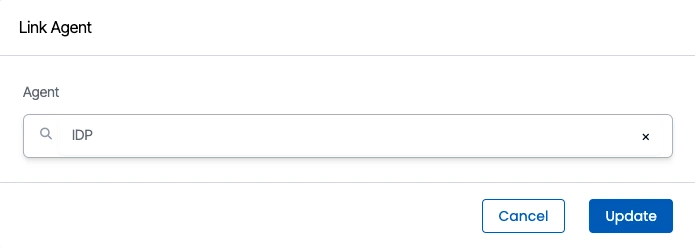
- After that, start typing the new agent code/name in the agent field, and the system will display a list of similar agents that match your search.
- Once you select the required agent, you need to update the agent. The system will then reload the enrolment dashboard, and the agent tab will appear, displaying the linked agent details with invoices.

