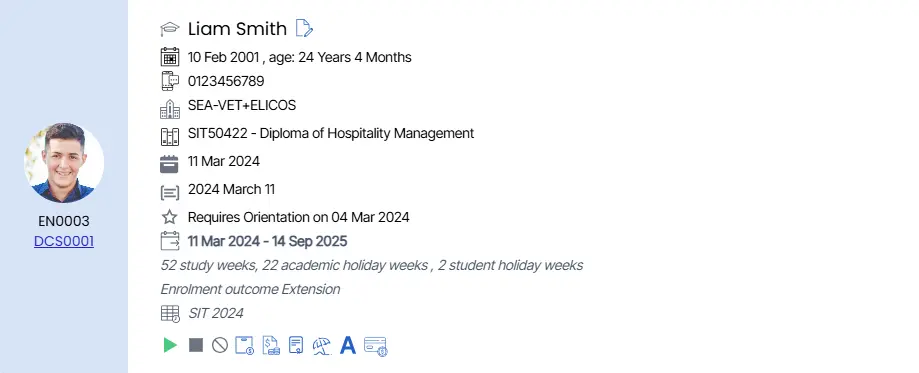
Enrolment Dashboard > Setup Ezidebit Schedule
Overview
Ezidebit Scheduler is a feature that can be found under the Student Profile from the Enrolment Dashboard. The Setup Ezidebit Schedule button will help a user to schedule and automate payments. Once configured, payments are collected automatically on the due dates(no manual processing needed).

Steps to Follow to use Payment scheduler:
- Click on ‘Setup Ezidebit Schedule’. If there are any future-dated invoices (or invoices dated today), the ‘Setup Ezidebit Schedule’ button will be visible. Click this to begin the setup.
- A pop-up will appear with two options :
- Use Enrolment Level Schedule – Creates a single instalment for each invoice based on its due date.
- Use Custom Invoice Level Schedule – Gives flexibility to break invoices into multiple instalments.
- Set Frequency and Instalments (For custom option)
- Choose frequency – Weekly, Fortnightly or Custom.
- Weekly: This option splits the total invoice amount into equal payments that are debited once every 7 days. The system will automatically calculate the number of instalments based on the total amount and generate a schedule starting from the setup date.
- Fortnightly: This option splits the invoice into equal payments that are debited once every 14 days. Like the Weekly option, the system auto-generates the payment dates and amounts.
- If Custom is selected, enter how many instalments you want for each invoice. The system will calculate amounts and dates automatically.
- Choose frequency – Weekly, Fortnightly or Custom.
- After saving the schedule, an email will be sent to the registered student’s email address with a secure link to the Ezidebit setup form.
- The student will need to :
- Confirm their personal and student details.
- Choose a payment method – either Card or Bank Account.
- Agree to Ezidebit’s terms and conditions, then click Submit.
- The student will need to :
- After the student submits the form:
- The system will show a success message on the Enrolment Dashboard.
- Each invoice will display ‘Ezidebit Payment Initiated’ as the status.
- Hover your cursor over the payment status label to view:
- Installment
- Debit date
- Debit Amount
- Payment method
- Status
- Click the edit icon next to any invoice to update or delete the payment schedule. Changes will reflect in real time.
Important Points:
- You can only set up Ezidebit if your Ezidebit account is fully configured and active, for which you need to contact Ezidebit.
- Secondly you need to contact the TEAMS support to turn on the Ezidebit feature for your site.
- The ‘Setup Ezidebit Schedule’ button only appears if at least one invoice is dated today or in the future.
- Schedules cover up to 12 months from the setup date. Invoices beyond that range are handled automatically when they fall within the 12-month window.
- Debit processing happens daily at 12:30 AM, 6:30 AM, and 3:00 PM AEST and Settlement occurs at 8:30 AM AEST.
- Once a payment is successful, a non-editable receipt is generated and the invoice is marked as ‘Paid’.