Main Dashboard > TeamsChat
Overview
TeamsChat is a feature in the TEAMS platform to streamline internal communication. It allows users to chat one-on-one or in groups (called channels) by using a simple, messenger-style interface.
Options to send emojis, reply to specific messages, share attachments, use mentions, and manage participants in channels make collaboration smooth and efficient. The feature is accessible from anywhere within the platform, ensuring users stay connected at all times.
1. Accessing TeamsChat
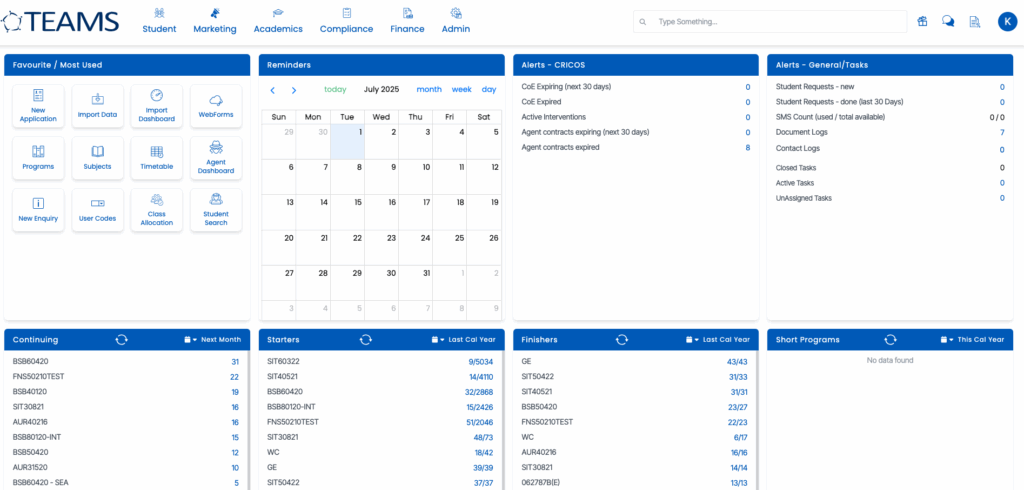
- Navigate to the main dashboard of TEAMS.
- Click on the chat icon, located on the left of the Recent Reports icon.

2. Starting a One-on-One Chat
- Use the search bar to type in the name of the user you want to chat with.
- Select the user from the search results.
- A new chat window opens, and you can begin your conversation.
3. Sending Emojis
- Click on the smiley face icon inside the chat input box.
- Browse the list of available emojis.
- Click on any emoji to insert it into your message.
4. Creating a Group Chat (Channel)
- In the top right corner of the chat interface, click the three-dot menu (•••).
- Select New Channel.
- Enter a name for the channel and click Create Channel.
- The new channel will now appear under the Chat section.
5. Managing Participants in a Channel
- Within the channel, click the participant icon.
- Use the search bar to find and add users to the channel.
- To remove a participant, click on their name and select the remove option.
6. Replying to a Specific Message
- Hover over the message you want to respond to.
- Open the message menu (often three dots or a reply icon).
- Click on Reply to respond directly to that message.
7. Forwarding a Message
- In the message options, choose Forward.
- Select the recipient you wish to forward the message to.
8. Always Accessible
- The TeamsChat feature is available across all screens in the TEAMS platform, ensuring users can chat at any time during their workflow.
9. Sending Attachments
- Click the attachment icon next to the emoji icon in the message box.
- Select the document you wish to send (maximum file size allowed is 20MB).
- If the file exceeds this limit, an alert will appear.
- Once selected, click Send to share the file within the conversation.
10. Using Mentions
- Type a forward slash
/in the message box to display mention options: Student, Enrolment, Agent, and Task. - Choose the appropriate option. For example, select Student, and a prompt will appear: “Search Student Number using #”.
- Type
#followed by the student number. - Select the correct student to insert a clickable mention link.
- This process works similarly for Enrolments, Agents, and Tasks.
- Both sender and recipient can click the link to open the respective dashboard.
10. View Mention History
- Navigate to the relevant dashboard (Student, Enrolment, or Agent).
- Click the chat icon at the end of the icons row on the profile tile.
- A pop-up will appear with all messages where that record has been mentioned.
You can search for the specific messages within the pop-up and use the multi-select dropdown filter to view messages from specific users